NB: We advise you to print or archive this page, and to read the recommendations at the end.
Dear patient, we have just placed an implant-supported crown or bridge using CAD/CAM. This technique has many advantages, in particular
- There is no sealing cement which would melt under the gum and which is responsible for a very large number of failures in implantology,
- Your prosthesis is removable, so if there is any problem in the future we can remove it very easily.
It is important that you understand the construction of this type of prosthesis.
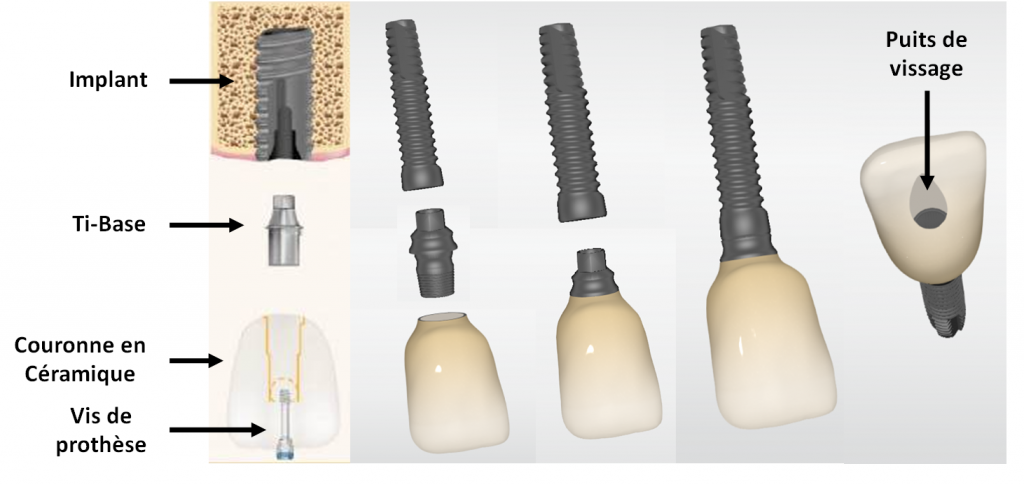
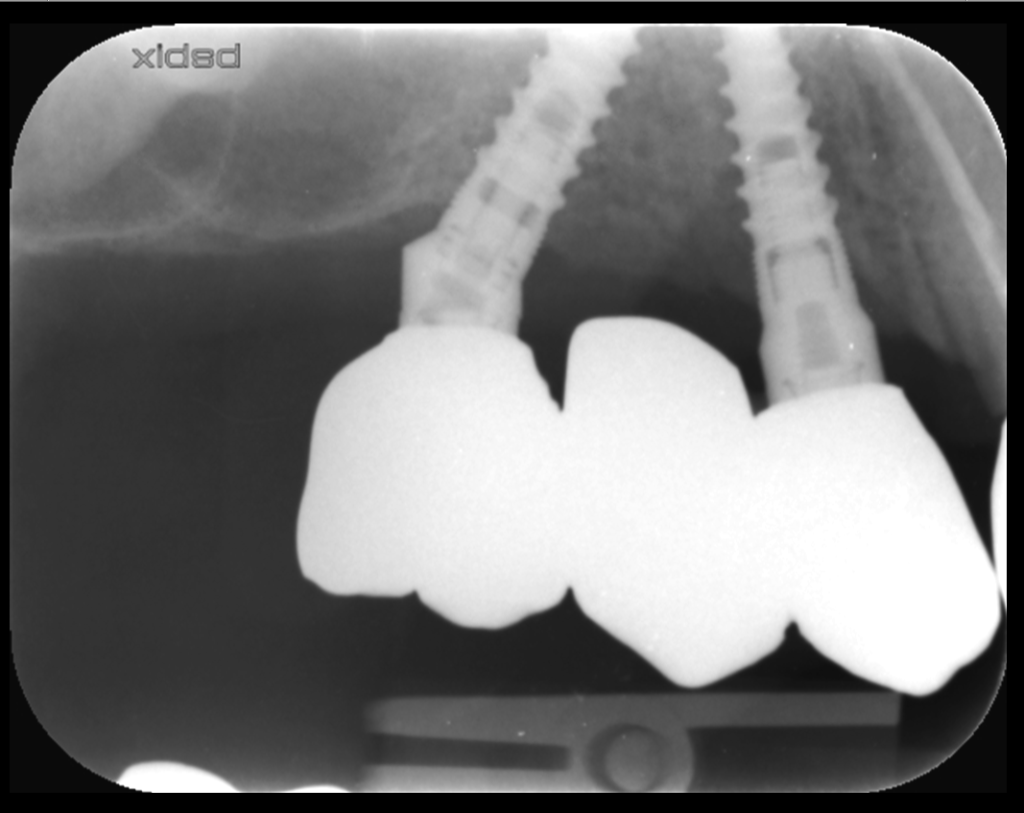
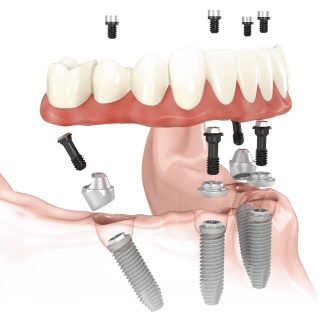
- Firstly, there is the titanium implant which is osseointegrated with the bone (welded into the jaw);
- Then the ceramic crown is bonded on an abutment that we call a Ti-Base (also made of titanium), a very specific part reserved exclusively for CAD/CAM;
- The whole thing is fixed, screwed onto the implant with a prosthesis screw (still in titanium);
- Then the screw head is protected with 2-3 well-compacted cotton pellets, and the screw hole is sealed with a light-curing composite.
This type of reconstruction is very reliable over time, however, as with any screwed or glued prosthesis, several things can happen:
- Over time, the composite block may wear out or even come off. Do not hesitate to consult quickly in this case so that the inside of the crown is not damaged. Any dentist can put back new cotton pellets and redo this type of composite.
- Then the screw that holds the crown to the implant may loosen. In this case you will feel something move slightly, or turn. It is important not to delay consulting a doctor, because screwing a crown back in is a benign act, but staying a long time with an unscrewed crown can lead to a fracture of the screw, which is much more annoying!
Any implantologist can screw a crown back onto an implant, but ideally a new screw should be used.
As we use different types of Ti-Base depending on the case, here is a list of the abutments used and the screws that go with them (feel free to contact us, and/or check your implant passport):
- MIS® brand Ti-bases (DENTSPY-SIRONA), MIS prosthetic parts with Internal Hexagon, which are screwed in at 30 NCm, the screwdriver used is a hex screwdriver of Ø 0.05′ - 1.27 mm (ML-LM005 for example). Ideally, a new screw should be used (ref: MN-S0160 for Narrow implant Ø 3.3 mm and MD-S0220 for the others). https://misimplants.fr/
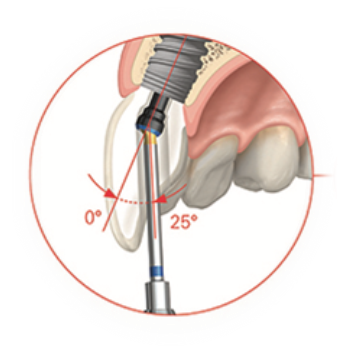
- Special case for the abutments with axis adjustment, called Ez-Base at MIS®. They are screwed at 25 NCm and require a Torx® type screwdriver (MT-ESM10). Ideally, a new screw should be used (ref: MN-E0160 for Narrow implant Ø 3.3 mm and MD-E0220 for the others. Check your implant passport). ATTENTION, because of the axis adjustment, it is not always possible to remove the screw from the prosthesis.
- C-Base® Ti-bases compatible with Zimmer® Tapered Screw-Vent from DESS®, screwed at 30 NCm and requiring a 0.05' - 1.27 mm hex screwdriver. Screw reference: SKU ZISV-018. www.dessdental.com
- Special case for abutments with axis adjustment, called Aurum Base at DESS®, screwed at 30 NCm and which require a Torx® Ball 06 type screwdriver (DT24TB06). The ideal would be to use a new screw (Torx® screw for AURUMBase® compatible with MIS® Seven or M4: SKU MISE-002). CAUTION, because of the axis adjustment, it is not always possible to remove the screw from the prosthesis. www.dessdental.com/fr-fr/mis
- Ti-Bases CEREC / inLab (DENTSPY-SIRONA), references Z TSV 3.5 and Z TSV 4.5 L, are screwed at 30 NCm, the screwdriver used is a classic hexagonal screwdriver of Ø 0.05′ - 1.27 mm. Screw reference: 6460575. CAUTION: no internal threads on these abutments (so no possibility of using an abutment puller).
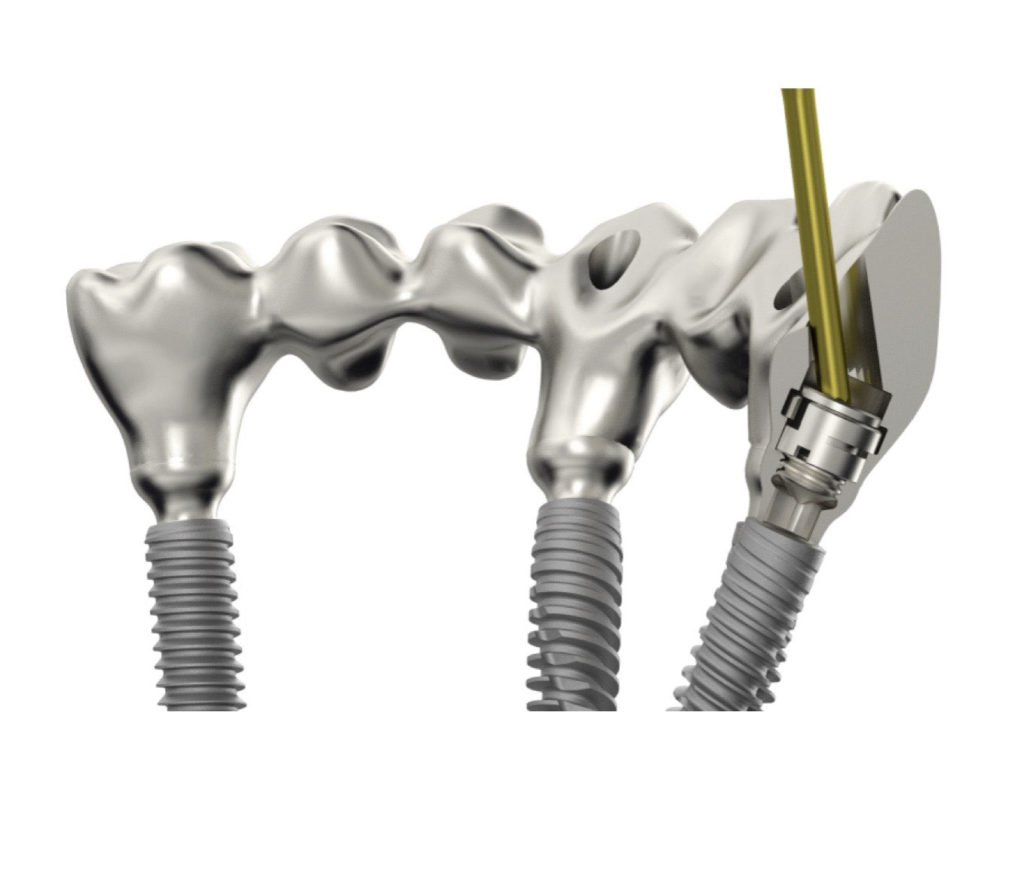
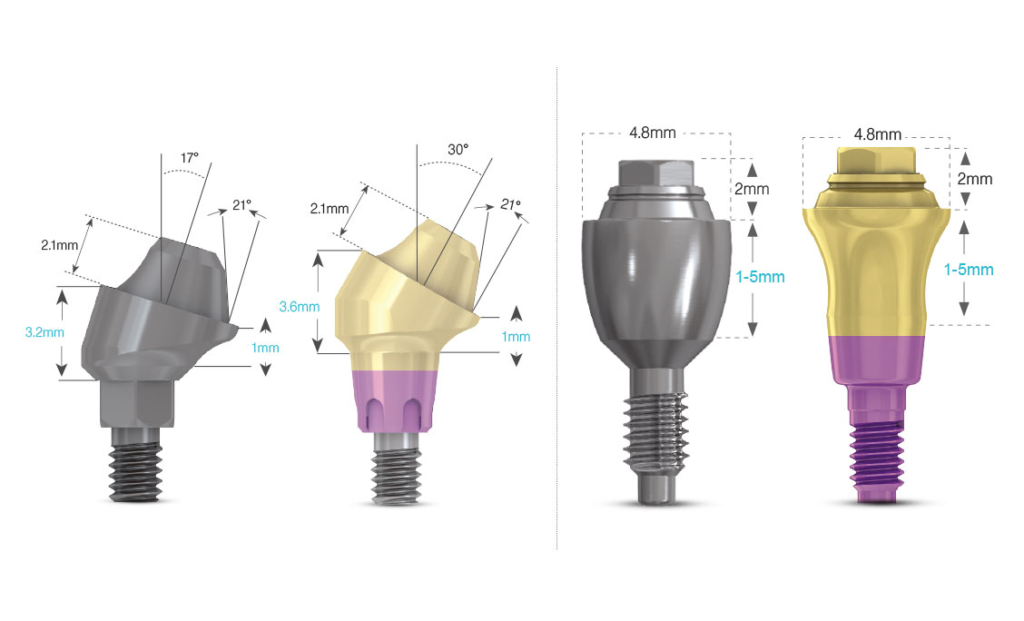
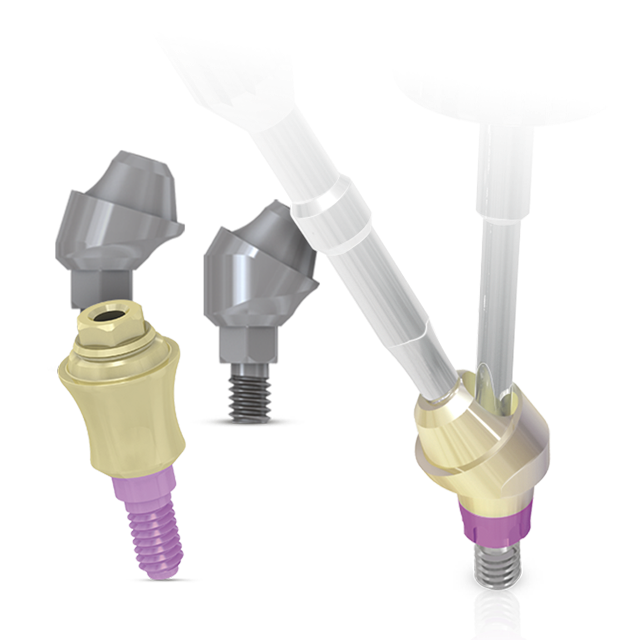
- For multiple-unit prostheses on MUA (Multi-Unit Abutment), All-On-X type or large bridges.https://misimplants.fr/
- The straight abutments are screwed in at 30 Ncm with the special screwdrivers MT-MURL2 or MT-MUML2.
- ATTENTION: Angled abutments are screwed in at 20 Ncm with the specific screwdrivers MT-MUL02 or MT-MMK07.
- The titanium prosthesis screws (MU-S0220) are screwed into the MUA abutments at 25 Ncm, with the conventional, hexagonal screwdriver Ø 0.05′ - 1.27 mm.
- Finally, the pillar is glued to the crown, these two elements can come off. In the same way, if you feel something moving, even slightly, you must consult quickly to avoid wearing out the parts. Not all implantologists are equipped to perform this type of bonding. Do not hesitate to contact us.
Finally, some important recommendations for the maintenance of your implant-supported crowns:
- First of all, we recommend that you use an electric toothbrush twice a day. Indeed, brushing crowns on implants is more complicated than brushing natural teeth, because the gumline is different. Electric toothbrushes are much more effective, especially on implants.
- The passage of interdental brushes on both sides of the implant is essential for the good maintenance of the implant. This should be done after brushing at least once a day and preferably in the evening. In the case of implants, the interdental space is often larger than in natural teeth, and conical brushes are often the best adapted to these spaces. If no brush is used, the risk of peri-implantitis is greatly increased. Peri-implantitis can lead to the loss of the implant.
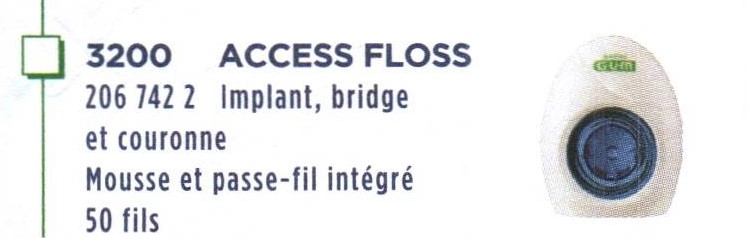
- Flossing specifically for implants can also be very useful and effective in addition to brushes; especially for cleaning bridge pontics (this is the only method for cleaning under the pontic). We particularly recommend :
- GUM® ACCESS FLOSS
- or TePe® Bridge & Implant floss
- Be careful, if you wrap the wire around the implants as shown in the video above, you must do it very gently without forcing, so as not to damage the gum. We recommend that you pass it on both sides, and especially under the pontics.
- We recommend that you do not use a dental jet or hydropulper on implants. Indeed, these jets do not remove the dental plaque, so they give the illusion of cleanliness. But above all, the gum around the implants is much more fragile than around a natural tooth, and the pressure of the jet can "break" the gum attachment of the implant and propel bacteria under the gum... and thus create a peri-implantitis!
Thank you for your confidence