This chain consists of several steps. Let's take a complex case with the extraction of a front tooth such as an upper incisor, its replacement on the same day by an implant with a custom-made surgical guide, the fitting of a temporary crown on the same day and the final restoration 3 months later.
The steps
Stage 1
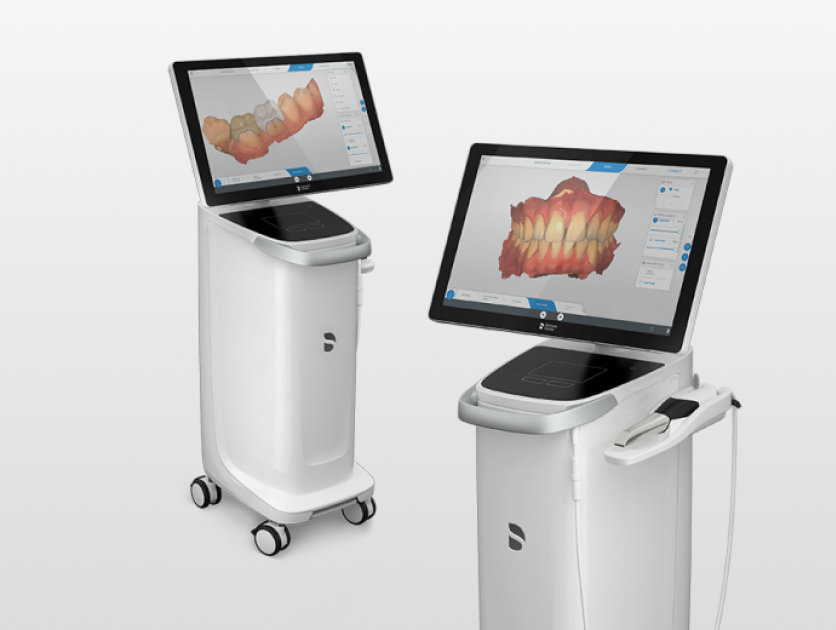
Optical impression with our digital camera (PrimeScan®), which allows us to obtain a virtual double of your mouth. No more impression paste, no more nausea reflexes, taking an impression is easy and almost fun for the patient who sees his or her mouth virtually reconstructed before their eyes.
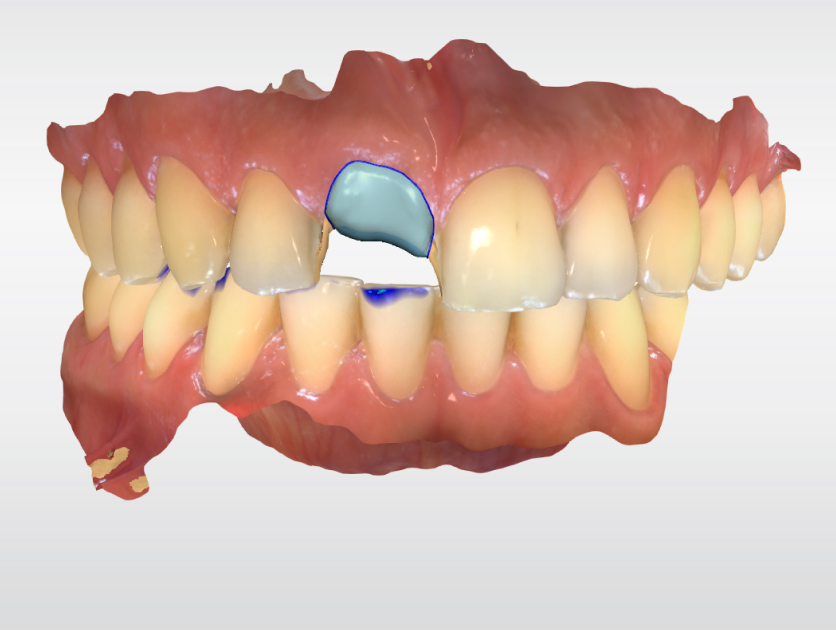
Step 2
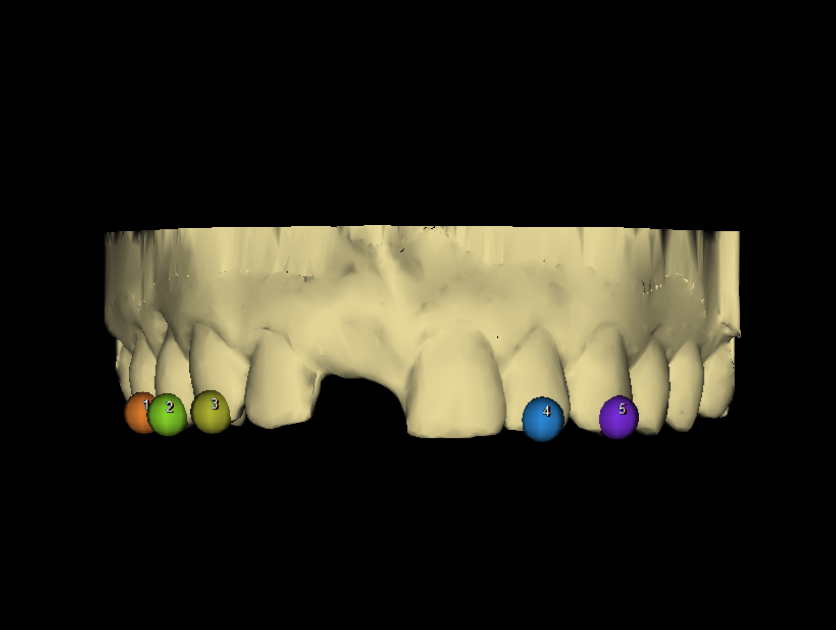
Virtual tooth extraction
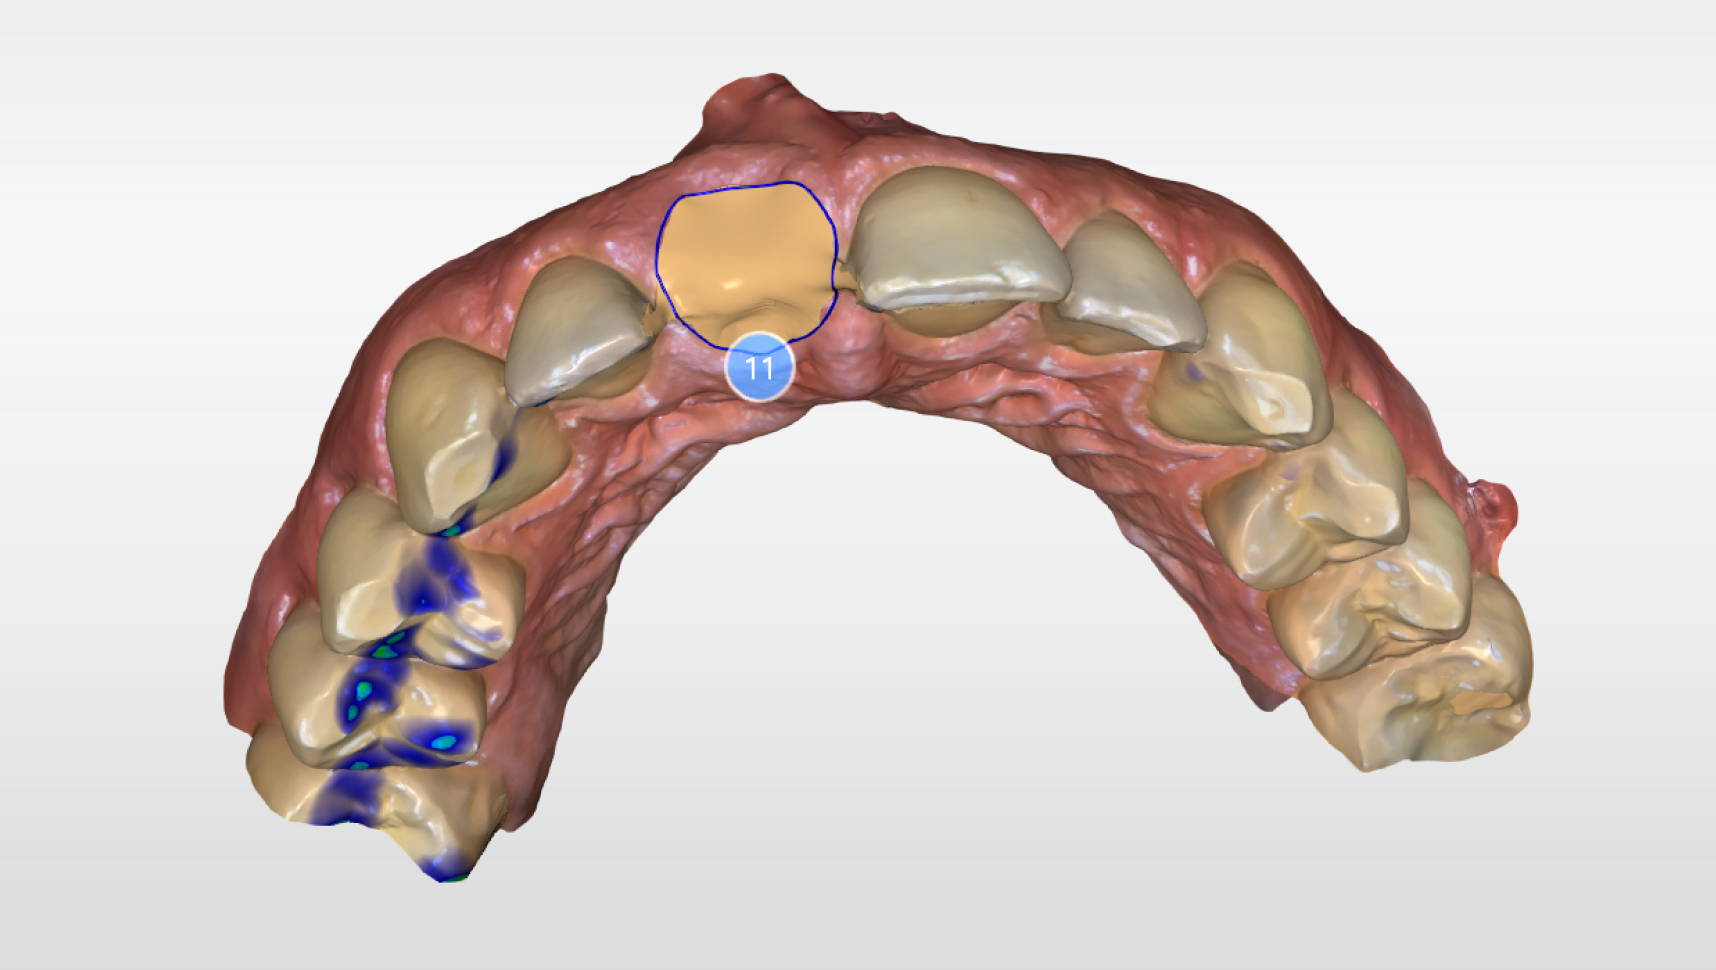
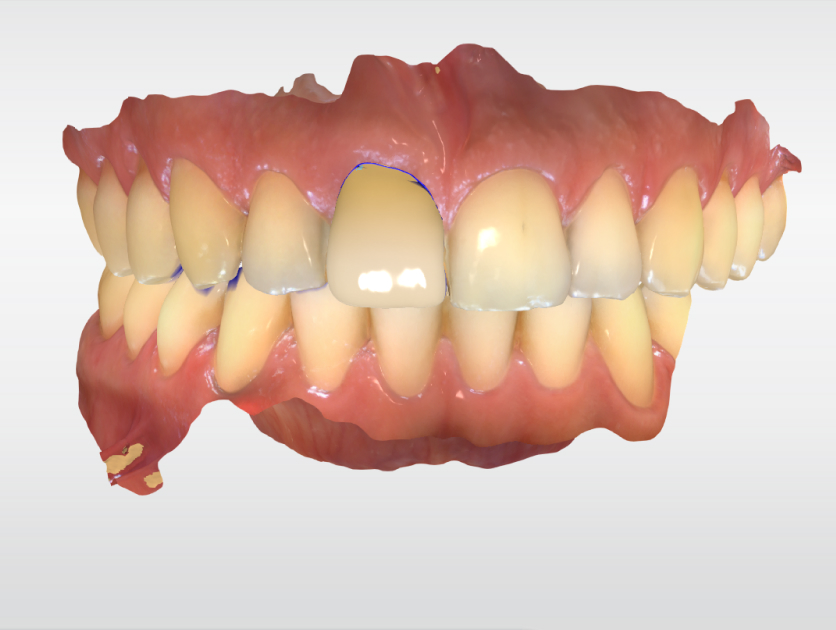
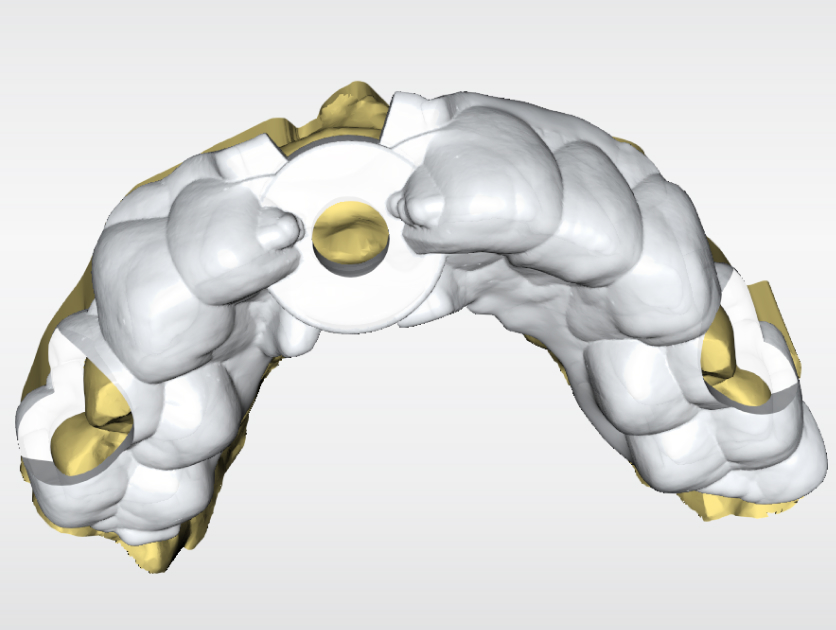
Step 3
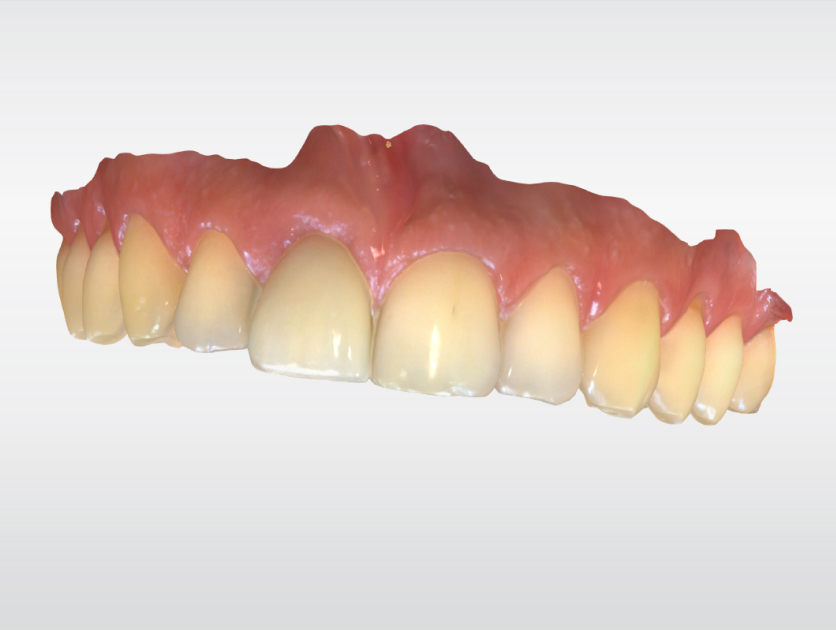
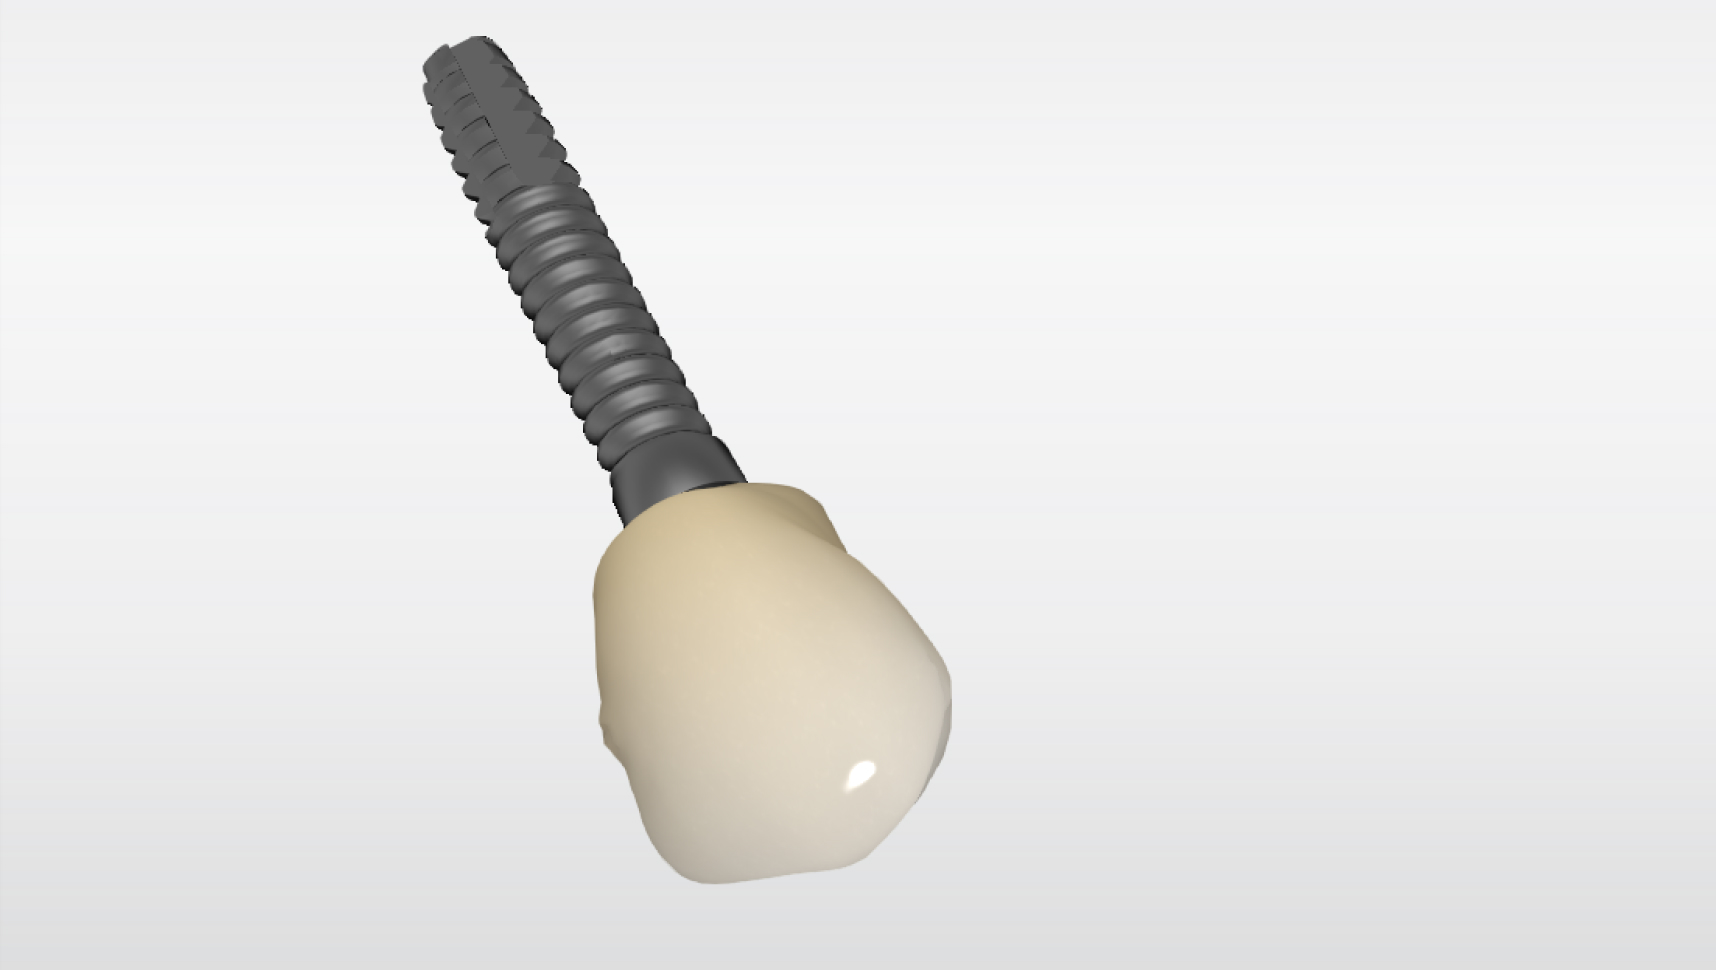
Virtual reconstruction of the ideal tooth
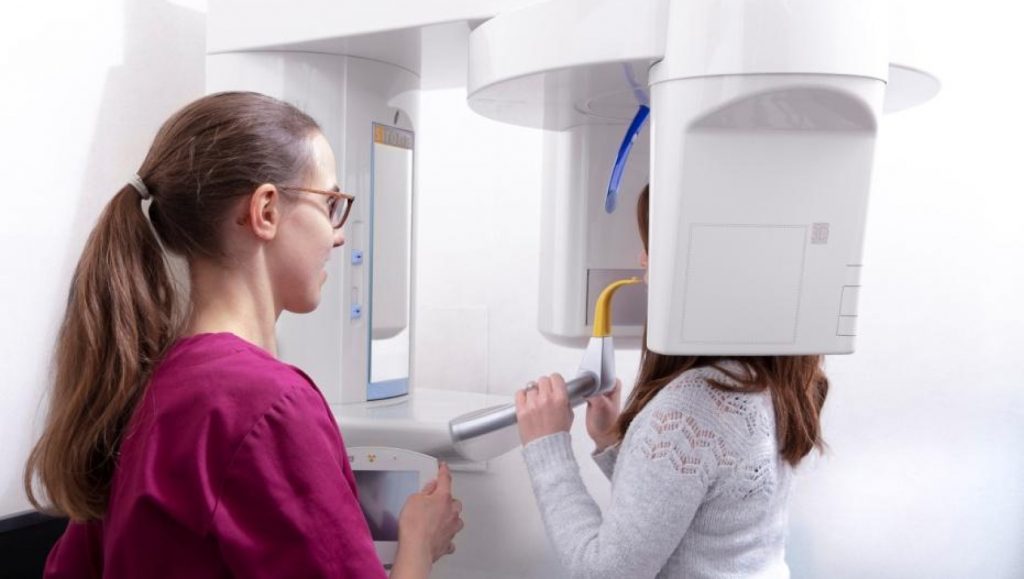
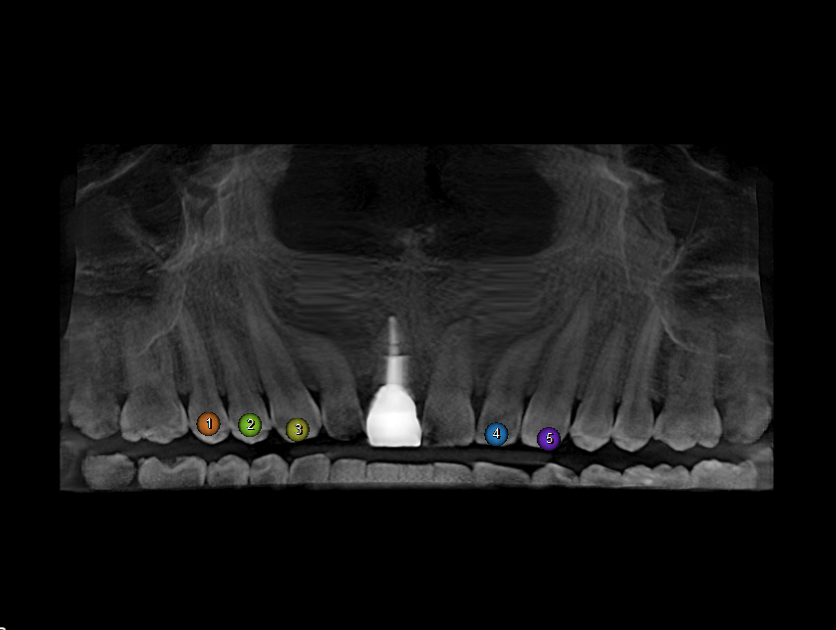
Step 4
A Cone Beam CT scan (CBCT ) is performed to determine the bone volume and to place the implant virtually.
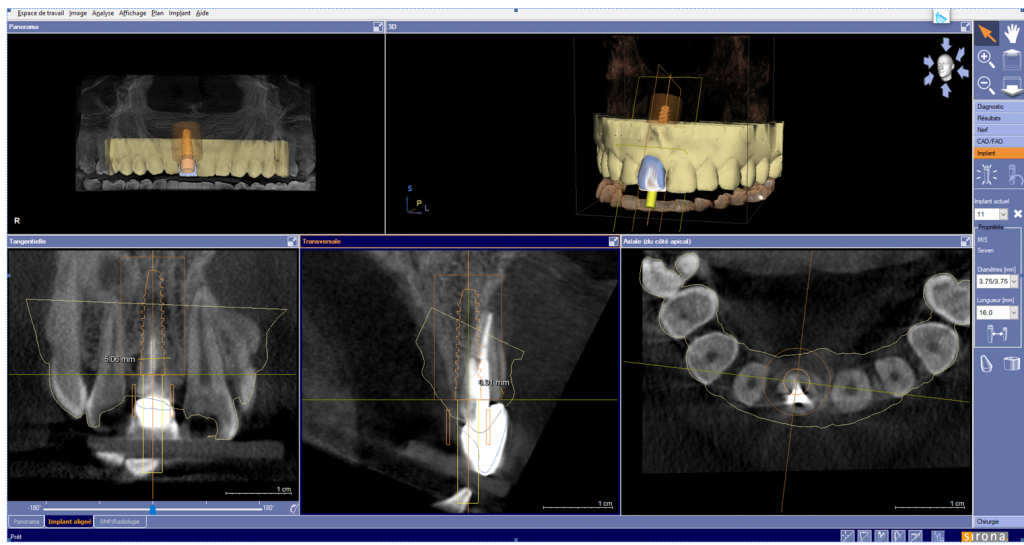
Step 5
Digital registration and merging of files, optimal virtual positioning of the implant, according to the future tooth.
Step 6
Surgical guide design, design, etc...
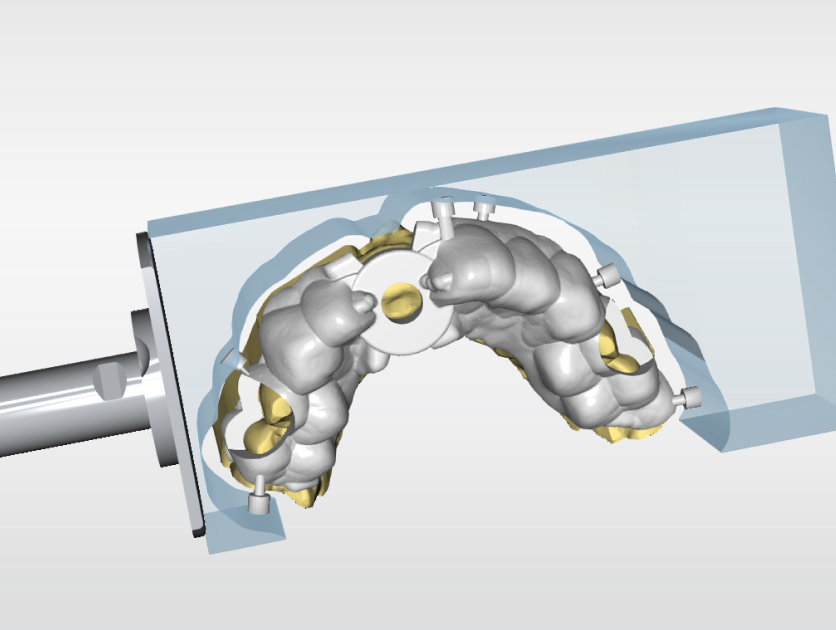
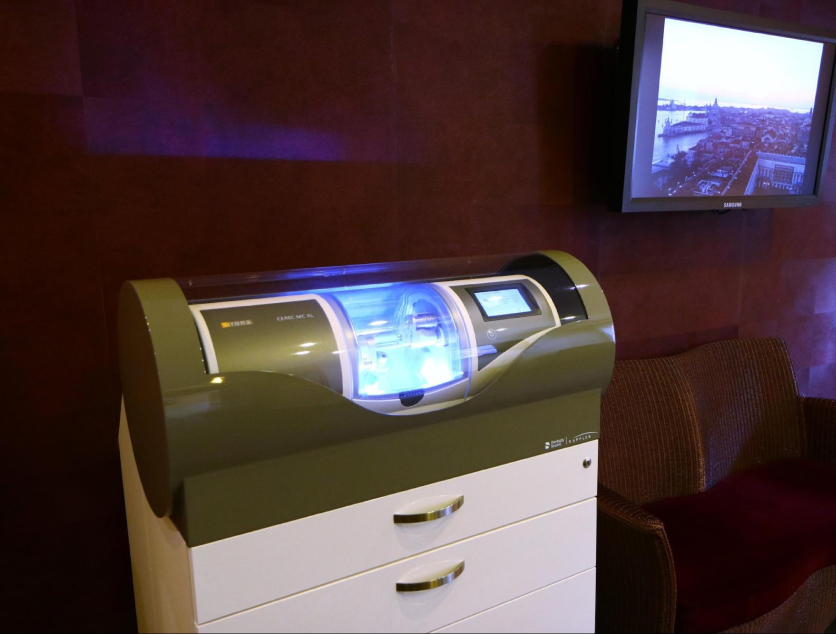
Step 7
Machining of the surgical guide in our milling machine
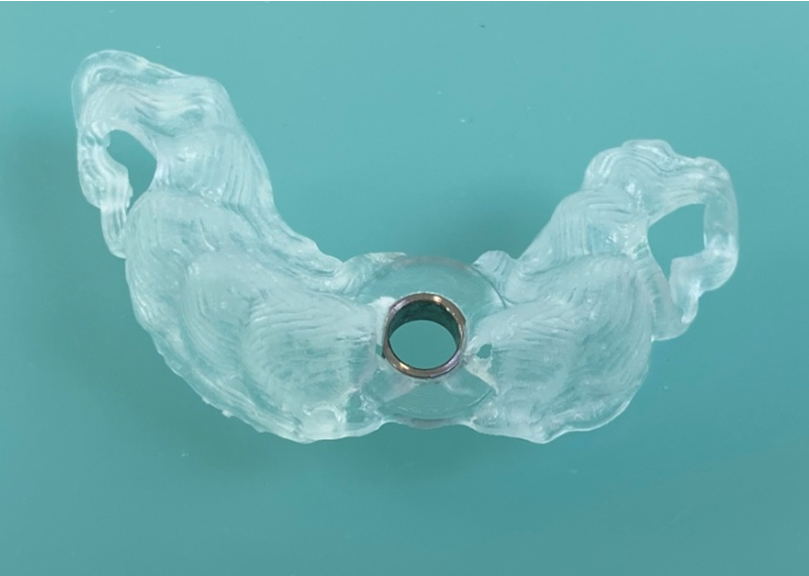
Step 8
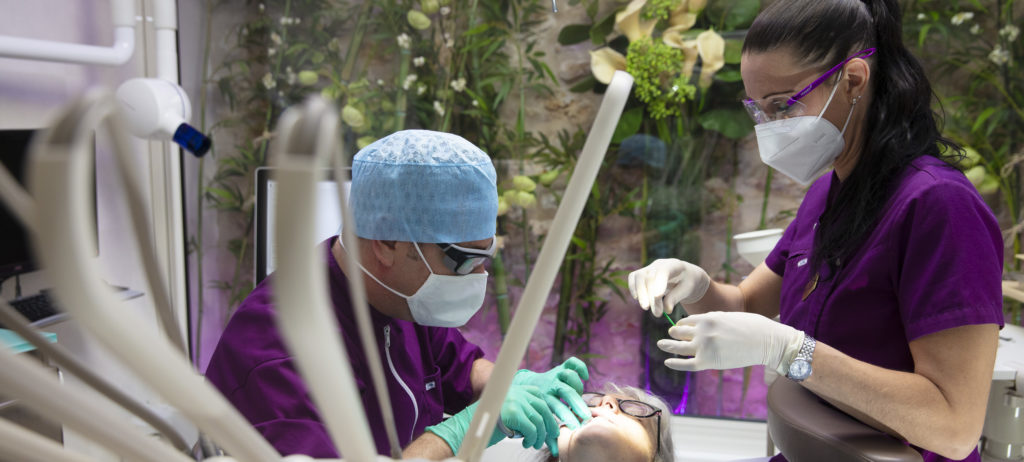
Surgery with fully guided implant placement. This allows for minimal surgery (without having to remove the gum most of the time), very high precision, speed, very little post-operative... The implant is placed exactly as planned in the virtual implant planning. To summarize a 21st century surgery
Step 9
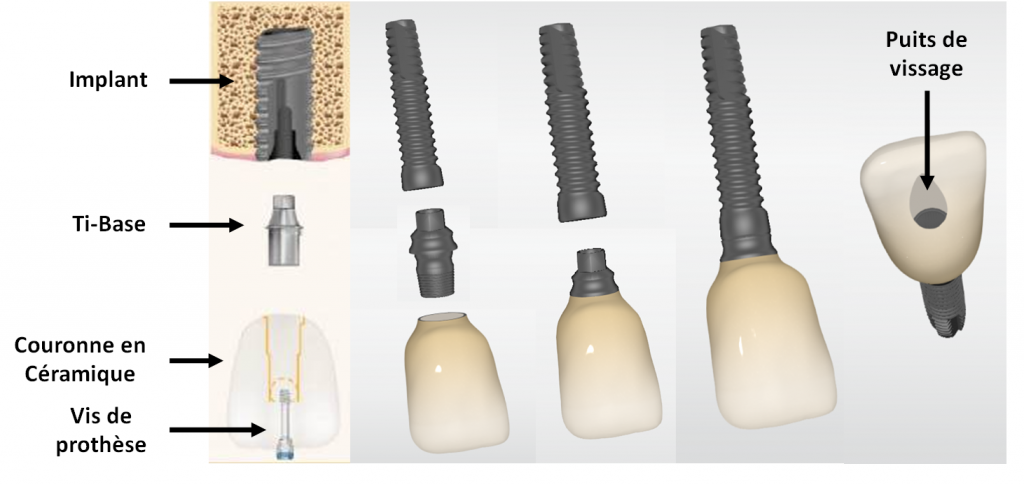
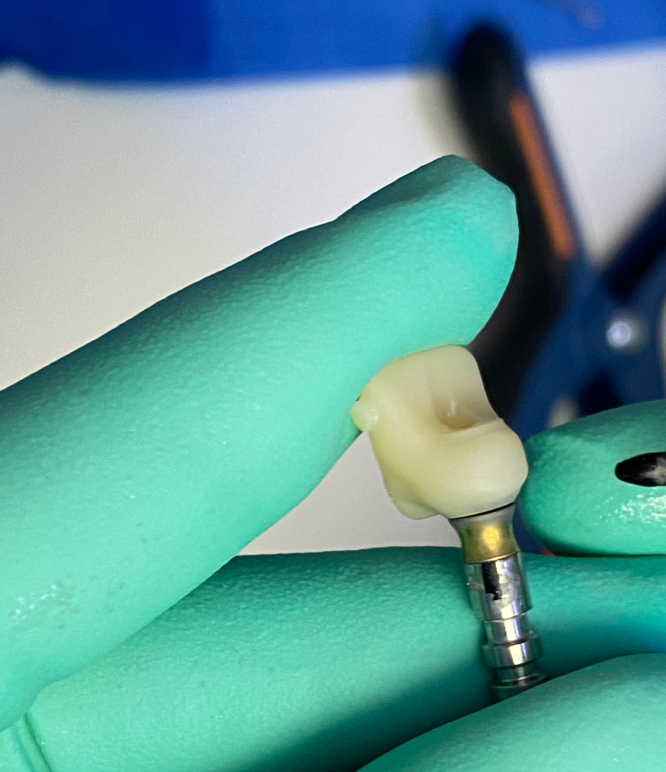
Optical impression of the exact position of the implant and immediate fabrication of the temporary crown on implant. In this case, we use extra-hard resin blocks (PMMA), which combine aesthetics and biological qualities to guide healing.
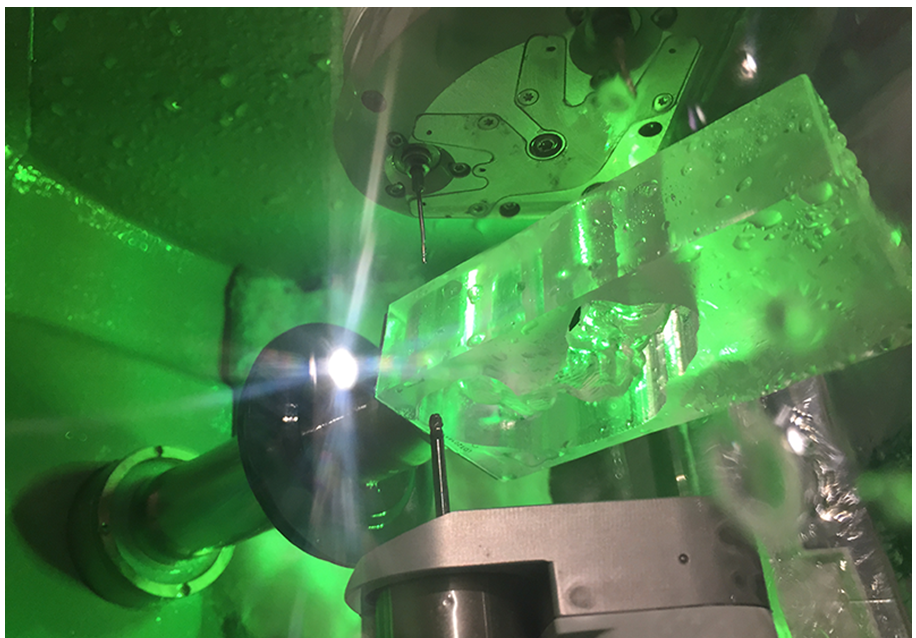
Step 10
Machining of the prosthetic part, sandblasting of the titanium part that will connect the PMMA prosthesis to the implant (this is called a Ti-Base), assembly of the two parts, polishing, and fitting of the restoration. In less than two hours, the patient leaves with an artificial tooth from A to Z (implant + temporary crown).
10 years ago, all these steps took more than 6 months and many hours in the office.
Step 11
3 months after the operation, healing and maturation of the gingiva, we take an optical impression, then design the crown and mill it, this time in a pre-fired ceramic block (e-Max®). This material combines aesthetic, mechanical and biological qualities.
Step 12
The crown is then polished, made up, glazed...
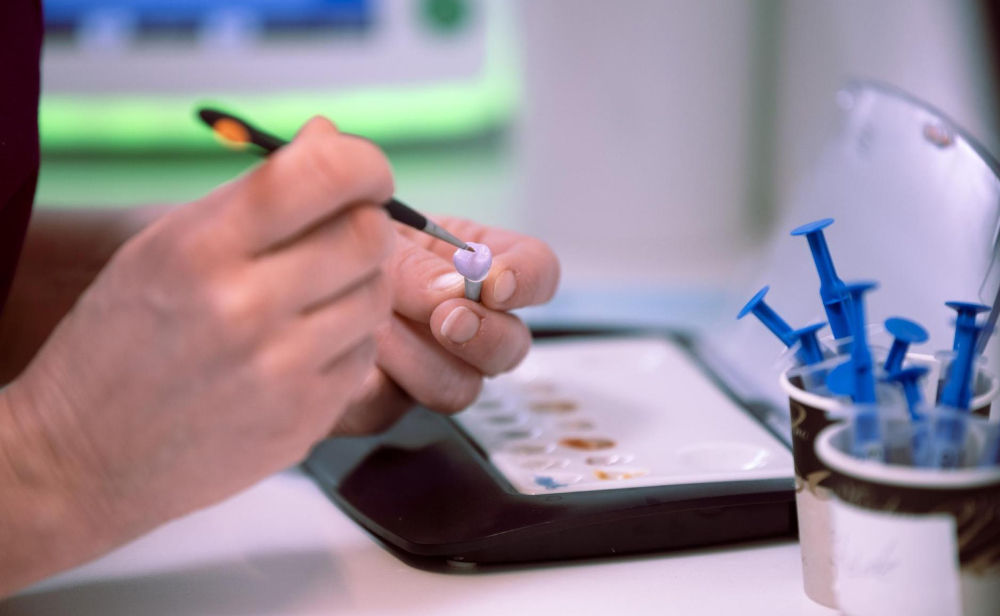
Step 13
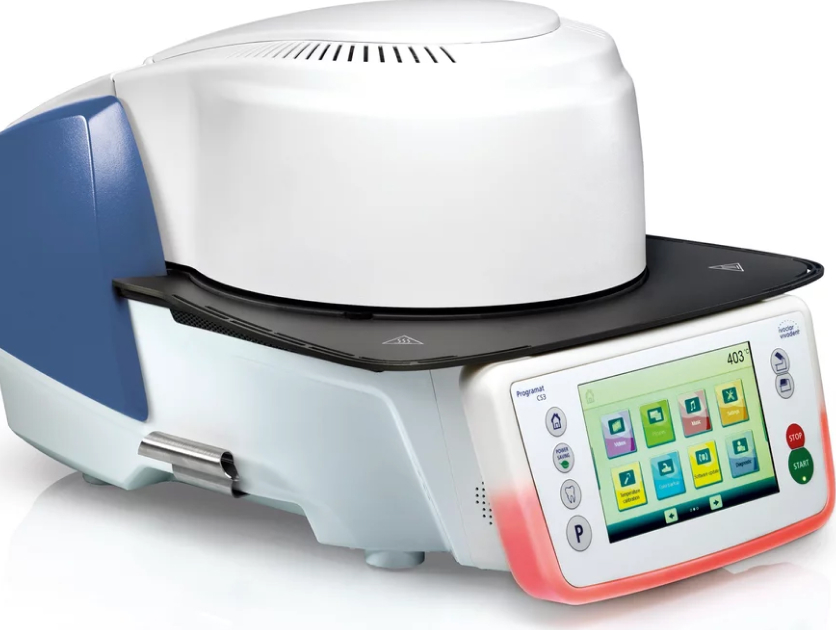
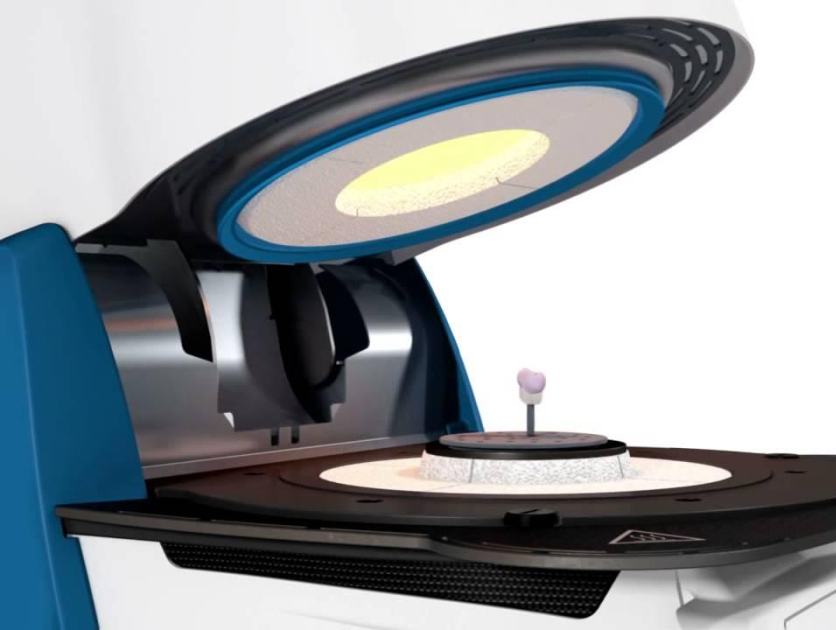
... and then fired in our special kiln which rises to 800°.
Step 14
Sandblasting of the titanium part (the Ti-Base), assembly of the two parts, polishing, and fitting of
the restoration.